Appearance
RKE 是一个快速的,多功能的 Kubernetes 安装工具。
安装软件和配置先决条件
请检查节点是否满足这些要求。
系统配置
Hostname和MAC地址唯一
使用以下命令查看Hostname和MAC地址
bash
cat /etc/hostname

ip link
启用IPV4流量转发
执行以下命令
bash
cat <<EOF | sudo tee /etc/modules-load.d/k8s.conf
overlay
br_netfilter
EOF

sudo modprobe overlay
sudo modprobe br_netfilter

# sysctl params required by setup, params persist across reboots
cat <<EOF | sudo tee /etc/sysctl.d/k8s.conf
net.bridge.bridge-nf-call-iptables  = 1
net.bridge.bridge-nf-call-ip6tables = 1
net.ipv4.ip_forward                 = 1
EOF

# Apply sysctl params without reboot
sudo sysctl --system
通过运行以下命令验证 br_netfilter, overlay 模块是否已加载
bash
lsmod | grep br_netfilter
lsmod | grep overlay
通过运行以下命令验证 net.bridge.bridge-nf-call-iptables, net.bridge.bridge-nf-call-ip6tables, net.ipv4.ip_forward系统变量已设置为1
bash
sysctl net.bridge.bridge-nf-call-iptables net.bridge.bridge-nf-call-ip6tables net.ipv4.ip_forward关闭SELinux
执行以下命令
setenforce 0
sed -i 's/enforcing/disabled/' /etc/selinux/config
关闭防火墙
Ubuntu执行以下命令
bash
ufw disableCentos执行以下命令
bash
systemctl stop firewalld
systemctl disable firewalld
禁用交换分区
执行以下命令
swapoff -a
sed -ri 's/.*swap.*/#&/' /etc/fstab
创建rke用户
bash
useradd -m rke

#设置密码
passwd rke
安装软件
Docker
参考文档:https://docs.docker.com/engine/install 执行以下命令
bash
curl -fsSL https://get.docker.com -o get-docker.sh
sh ./get-docker.sh

systemctl enable docker
systemctl start docker
执行以下命令验证Docker是否已正确安装
bash
systemctl status docker
docker version
docker run hello-world
创建docker用户组
bash
groupadd docker添加rke用户至docker用户组
bash
usermod -aG docker rke激活对用户组的修改
bash
newgrp docker验证rke用户是否可执行docker命令
bash
su rke
docker run hello-world
Chrony
使用Chrony同步服务器时间 执行以下命令安装
bash
apt install chrony
systemctl enable chrony
systemctl start chrony
验证
bash
chronyc activity主节点配置
以下操作,选择一台主节点即可。
生成SSH证书
执行以下命令会在当前目录生成两个文件:rke_key, rke_key.pub
bash
ssh-keygen -t rsa -b 4096 -C "your_email@example.com" -P "" -f rke_key拷贝SSH证书至所有节点
bash
ssh-copy-id -i rke_key.pub rke@node1
ssh-copy-id -i rke_key.pub rke@node2
ssh-copy-id -i rke_key.pub rke@node3
...
验证SSH证书是否可用
bash
ssh -t -i rke_key rke@node1 "hostname"安装Kubectl
参考文档:https://kubernetes.io/docs/tasks/tools/install-kubectl-linux/ 执行以下命令安装
bash
curl -LO "https://dl.k8s.io/release/$(curl -L -s https://dl.k8s.io/release/stable.txt)/bin/linux/amd64/kubectl"

chmod +x kubectl
mv kubectl /usr/local/bin/kubectl
验证
kubectl version开启自动补全
bash
source <(kubectl completion bash) # set up autocomplete in bash into the current shell, bash-completion package should be installed first.
echo "source <(kubectl completion bash)" >> ~/.bashrc # add autocomplete permanently to your bash shell.
安装RKE
下载二进制安装包,RKE版本发布页面:https://github.com/rancher/rke/releases
bash
# Linux
curl -LO https://github.com/rancher/rke/releases/download/v1.4.17/rke_linux-amd64
把二进制文件重命名为rke
# Linux
mv rke_linux-amd64 rke

# MacOS
mv rke_darwin-amd64 rke

# Windows PowerShell
mv rke_windows-amd64.exe rke.exe
添加可执行权限
bash
chmod +x rke把rke移动到Linux可以执行命令目录下
bash
mv rke /usr/local/bin/rke执行以下命令验证
bash
rke --version使用RKE部署集群
参考文档:https://rke.docs.rancher.com
创建RKE配置文件
创建一个名为cluster.yml的 Kubernetes 集群配置文件;在后续步骤中,当使用 RKE 命令设置集群时,它将使用此文件在节点上安装 Kubernetes。
集群配置建议
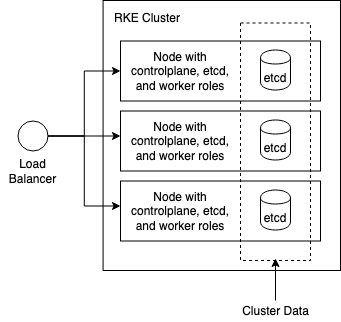
 每个节点可承担一个或多个角色
- 三个controlplane节点,保证 master 组件的高可用性
- 三个etcd节点,保证etcd组件的高可用性
- 多个worker节点,用于部署应用和服务
示例:
| 节点 | 角色 |
|---|---|
| 192.168.11.1 | controlplane, etcd, worker |
| 192.168.11.2 | controlplane, etcd, worker |
| 192.168.11.3 | controlplane, etcd, worker |
| 192.168.11.4 | worker |
| 192.168.11.5 | worker |
使用rke config
创建rke配置文件
bash
rke config --name cluster.yml参考以下选择:
bash
[+] Cluster Level SSH Private Key Path [~/.ssh/id_rsa]: rke_key #SSH私钥文件路径
[+] Number of Hosts [1]: 1 #集群节点数量
[+] SSH Address of host (1) [none]: 192.168.11.1 #第一个节点的IP地址
[+] SSH Port of host (1) [22]: 22 #SSH端口
[+] SSH Private Key Path of host (192.168.11.1) [none]: rek_key #SSH私钥路径
[+] SSH User of host (192.168.11.1) [ubuntu]: rke #SSH远程登录用户
[+] Is host (192.168.11.1) a Control Plane host (y/n)? [y]: y #是否为控制节点
[+] Is host (192.168.11.1) a Worker host (y/n)? [n]: y #是否为worker节点
[+] Is host (192.168.11.1) an etcd host (y/n)? [n]: y #是否为etcd节点
[+] Override Hostname of host (192.168.11.1) [none]: #是否覆盖现有主机名
[+] Internal IP of host (192.168.11.1) [none]: #节点内部IP地址
[+] Docker socket path on host (192.168.11.1) [/var/run/docker.sock]: #节点docker.sock路径
[+] Network Plugin Type (flannel, calico, weave, canal, aci) [canal]: #网络插件
[+] Authentication Strategy [x509]: #认证策略
[+] Authorization Mode (rbac, none) [rbac]: #权限模式
[+] Kubernetes Docker image [rancher/hyperkube:v1.27.12-rancher1]: #集群容器镜像
[+] Cluster domain [cluster.local]: #集群域名
[+] Service Cluster IP Range [10.43.0.0/16]: #集群Servic IP 地址范围
[+] Enable PodSecurityPolicy [n]: #是否开启Pod安全策略
[+] Cluster Network CIDR [10.42.0.0/16]: #集群Pod IP地址范围
[+] Cluster DNS Service IP [10.43.0.10]: #集群 DNS Service IP 地址
[+] Add addon manifest URLs or YAML files [no]: #是否增加插件 manifest URL 或配置文件
cluster.yml示例
yaml
# If you intended to deploy Kubernetes in an air-gapped environment,
# please consult the documentation on how to configure custom RKE images.
nodes:
- address: 192.168.11.1
  port: "22"
  internal_address: ""
  role:
  - controlplane
  - worker
  - etcd
  hostname_override: ""
  user: rke
  docker_socket: /var/run/docker.sock
  ssh_key: ""
  ssh_key_path: rek_key
  ssh_cert: ""
  ssh_cert_path: ""
  labels: {}
  taints: []
services:
  etcd:
    image: ""
    extra_args: {}
    extra_args_array: {}
    extra_binds: []
    extra_env: []
    win_extra_args: {}
    win_extra_args_array: {}
    win_extra_binds: []
    win_extra_env: []
    external_urls: []
    ca_cert: ""
    cert: ""
    key: ""
    path: ""
    uid: 0
    gid: 0
    snapshot: null
    retention: ""
    creation: ""
    backup_config: null
  kube-api:
    image: ""
    extra_args: {}
    extra_args_array: {}
    extra_binds: []
    extra_env: []
    win_extra_args: {}
    win_extra_args_array: {}
    win_extra_binds: []
    win_extra_env: []
    service_cluster_ip_range: 10.43.0.0/16
    service_node_port_range: ""
    pod_security_policy: false
    pod_security_configuration: ""
    always_pull_images: false
    secrets_encryption_config: null
    audit_log: null
    admission_configuration: null
    event_rate_limit: null
  kube-controller:
    image: ""
    extra_args: {}
    extra_args_array: {}
    extra_binds: []
    extra_env: []
    win_extra_args: {}
    win_extra_args_array: {}
    win_extra_binds: []
    win_extra_env: []
    cluster_cidr: 10.42.0.0/16
    service_cluster_ip_range: 10.43.0.0/16
  scheduler:
    image: ""
    extra_args: {}
    extra_args_array: {}
    extra_binds: []
    extra_env: []
    win_extra_args: {}
    win_extra_args_array: {}
    win_extra_binds: []
    win_extra_env: []
  kubelet:
    image: ""
    extra_args: {}
    extra_args_array: {}
    extra_binds: []
    extra_env: []
    win_extra_args: {}
    win_extra_args_array: {}
    win_extra_binds: []
    win_extra_env: []
    cluster_domain: cluster.local
    infra_container_image: ""
    cluster_dns_server: 10.43.0.10
    fail_swap_on: false
    generate_serving_certificate: false
  kubeproxy:
    image: ""
    extra_args: {}
    extra_args_array: {}
    extra_binds: []
    extra_env: []
    win_extra_args: {}
    win_extra_args_array: {}
    win_extra_binds: []
    win_extra_env: []
network:
  plugin: canal
  options: {}
  mtu: 0
  node_selector: {}
  update_strategy: null
  tolerations: []
authentication:
  strategy: x509
  sans: []
  webhook: null
addons: ""
addons_include: []
system_images:
  etcd: rancher/mirrored-coreos-etcd:v3.5.10
  alpine: rancher/rke-tools:v0.1.96
  nginx_proxy: rancher/rke-tools:v0.1.96
  cert_downloader: rancher/rke-tools:v0.1.96
  kubernetes_services_sidecar: rancher/rke-tools:v0.1.96
  kubedns: rancher/mirrored-k8s-dns-kube-dns:1.22.28
  dnsmasq: rancher/mirrored-k8s-dns-dnsmasq-nanny:1.22.28
  kubedns_sidecar: rancher/mirrored-k8s-dns-sidecar:1.22.28
  kubedns_autoscaler: rancher/mirrored-cluster-proportional-autoscaler:v1.8.9
  coredns: rancher/mirrored-coredns-coredns:1.10.1
  coredns_autoscaler: rancher/mirrored-cluster-proportional-autoscaler:v1.8.9
  nodelocal: rancher/mirrored-k8s-dns-node-cache:1.22.28
  kubernetes: rancher/hyperkube:v1.27.12-rancher1
  flannel: rancher/mirrored-flannel-flannel:v0.21.4
  flannel_cni: rancher/flannel-cni:v0.3.0-rancher8
  calico_node: rancher/mirrored-calico-node:v3.26.3
  calico_cni: rancher/calico-cni:v3.26.3-rancher1
  calico_controllers: rancher/mirrored-calico-kube-controllers:v3.26.3
  calico_ctl: rancher/mirrored-calico-ctl:v3.26.3
  calico_flexvol: rancher/mirrored-calico-pod2daemon-flexvol:v3.26.3
  canal_node: rancher/mirrored-calico-node:v3.26.3
  canal_cni: rancher/calico-cni:v3.26.3-rancher1
  canal_controllers: rancher/mirrored-calico-kube-controllers:v3.26.3
  canal_flannel: rancher/mirrored-flannel-flannel:v0.21.4
  canal_flexvol: rancher/mirrored-calico-pod2daemon-flexvol:v3.26.3
  weave_node: weaveworks/weave-kube:2.8.1
  weave_cni: weaveworks/weave-npc:2.8.1
  pod_infra_container: rancher/mirrored-pause:3.7
  ingress: rancher/nginx-ingress-controller:nginx-1.9.4-rancher1
  ingress_backend: rancher/mirrored-nginx-ingress-controller-defaultbackend:1.5-rancher1
  ingress_webhook: rancher/mirrored-ingress-nginx-kube-webhook-certgen:v20231011-8b53cabe0
  metrics_server: rancher/mirrored-metrics-server:v0.6.3
  windows_pod_infra_container: rancher/mirrored-pause:3.7
  aci_cni_deploy_container: noiro/cnideploy:6.0.4.1.81c2369
  aci_host_container: noiro/aci-containers-host:6.0.4.1.81c2369
  aci_opflex_container: noiro/opflex:6.0.4.1.81c2369
  aci_mcast_container: noiro/opflex:6.0.4.1.81c2369
  aci_ovs_container: noiro/openvswitch:6.0.4.1.81c2369
  aci_controller_container: noiro/aci-containers-controller:6.0.4.1.81c2369
  aci_gbp_server_container: ""
  aci_opflex_server_container: ""
ssh_key_path: rke_key
ssh_cert_path: ""
ssh_agent_auth: false
authorization:
  mode: rbac
  options: {}
ignore_docker_version: null
enable_cri_dockerd: null
kubernetes_version: ""
private_registries: []
ingress:
  provider: ""
  options: {}
  node_selector: {}
  extra_args: {}
  dns_policy: ""
  extra_envs: []
  extra_volumes: []
  extra_volume_mounts: []
  update_strategy: null
  http_port: 0
  https_port: 0
  network_mode: ""
  tolerations: []
  default_backend: null
  default_http_backend_priority_class_name: ""
  nginx_ingress_controller_priority_class_name: ""
  default_ingress_class: null
cluster_name: ""
cloud_provider:
  name: ""
prefix_path: ""
win_prefix_path: ""
addon_job_timeout: 0
bastion_host:
  address: ""
  port: ""
  user: ""
  ssh_key: ""
  ssh_key_path: ""
  ssh_cert: ""
  ssh_cert_path: ""
  ignore_proxy_env_vars: false
monitoring:
  provider: ""
  options: {}
  node_selector: {}
  update_strategy: null
  replicas: null
  tolerations: []
  metrics_server_priority_class_name: ""
restore:
  restore: false
  snapshot_name: ""
rotate_encryption_key: false
dns: null
使用rke up部署集群
使用之前创建的配置文件部署集群
bash
rke up --config cluster.ymlbash
INFO[0000] Building Kubernetes cluster
INFO[0000] [dialer] Setup tunnel for host [192.168.11.1]
INFO[0000] [network] Deploying port listener containers
INFO[0000] [network] Pulling image [alpine:latest] on host [192.168.11.1]
...
INFO[0101] Finished building Kubernetes cluster successfully
验证
bash
kubectl --kubeconfig=kube_config_cluster.yml get nodes保存文件
rke_key, rke_key.pub: 节点证书cluster.yml: rke 集群配置文件kube_config_cluster.yml: 集群的 Kubeconfig 文件,此文件包含对集群的完全访问权限的凭据cluster.rkestate: Kubernetes 集群状态文件,此文件包含用于完全访问集群的凭据
Kubernetes生态应用
Helm
Helm 是 Kubernetes 的包管理器
从脚本在线安装Helm
bash
curl -fsSL -o get_helm.sh https://raw.githubusercontent.com/helm/helm/main/scripts/get-helm-3
bash get_helm.sh
Rancher
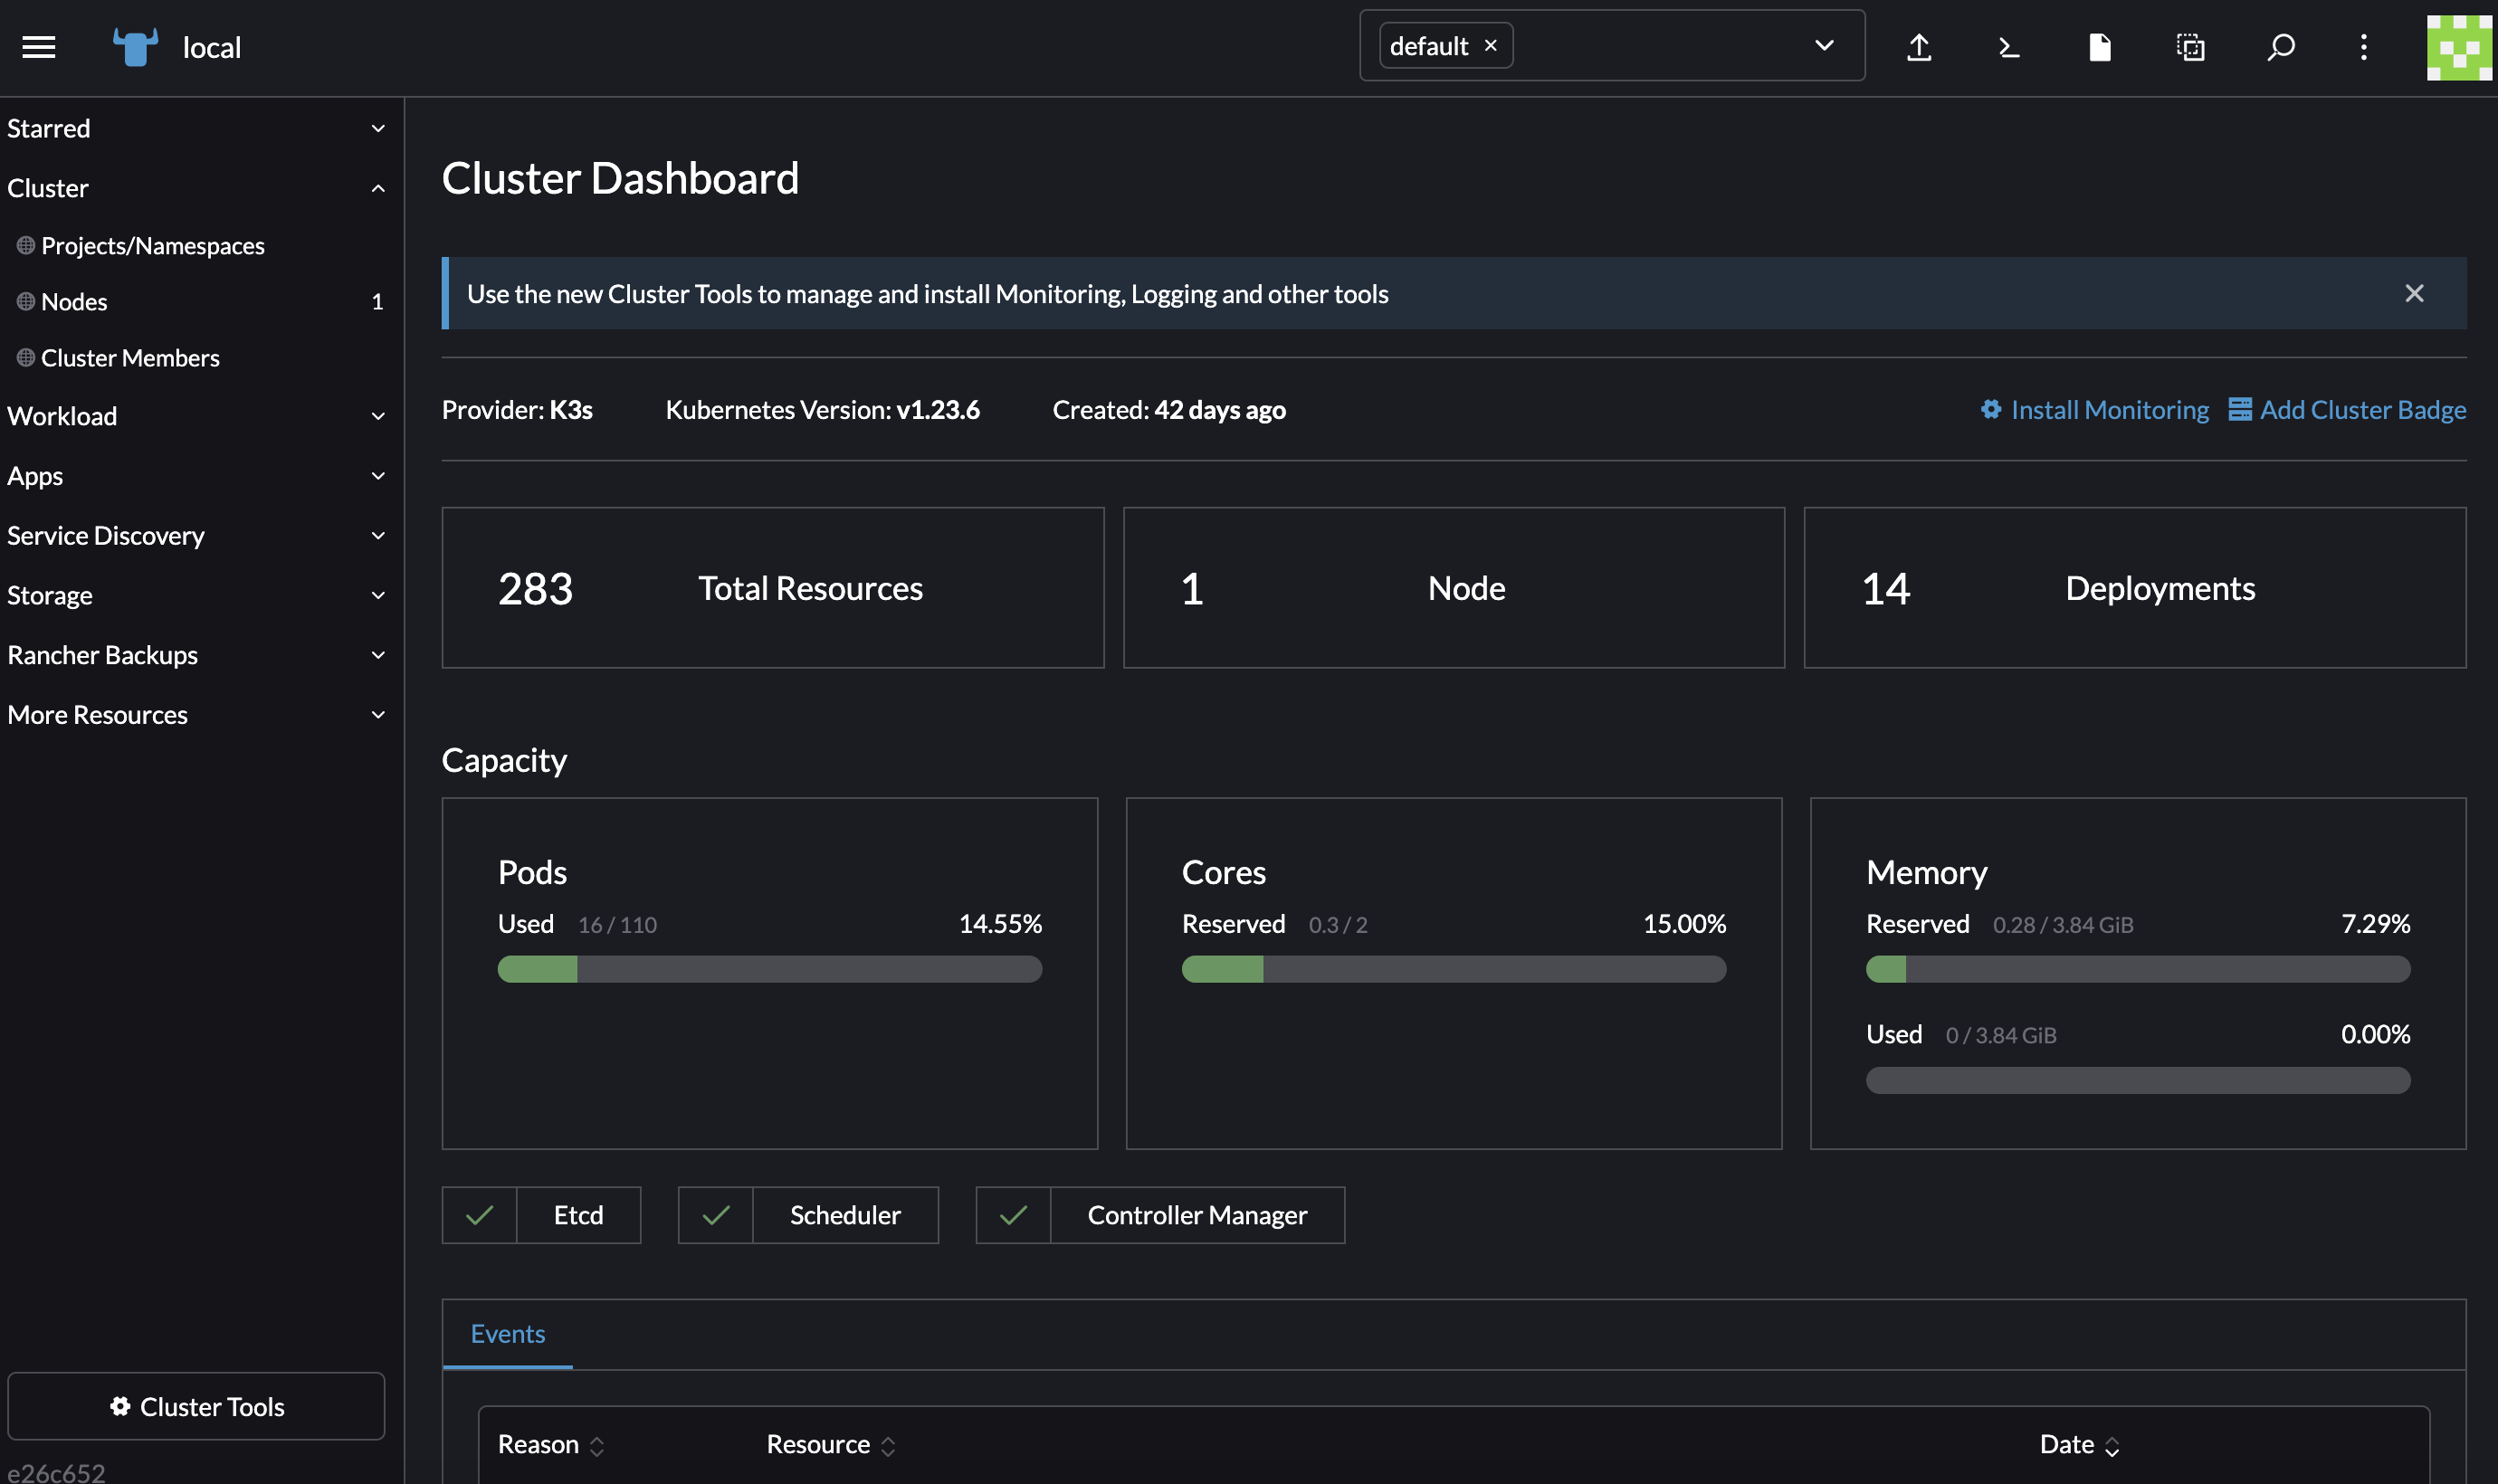
Rancher是一个全栈式的 Kubernetes 容器管理平台 
在Kubernetes中安装Rancher
参考在线文档:Install/Upgrade Rancher on a Kubernetes Cluster
GPU
NVIDIA Container Toolkit
NVIDIA容器工具包允许用户构建和运行GPU加速容器。该工具包包括一个容器运行时库和实用程序,用于自动配置容器以利用NVIDIA gpu。
安装:
bash
#ubuntu

# Configure the production repository
curl -fsSL https://nvidia.github.io/libnvidia-container/gpgkey | sudo gpg --dearmor -o /usr/share/keyrings/nvidia-container-toolkit-keyring.gpg \
  && curl -s -L https://nvidia.github.io/libnvidia-container/stable/deb/nvidia-container-toolkit.list | \
    sed 's#deb https://#deb [signed-by=/usr/share/keyrings/nvidia-container-toolkit-keyring.gpg] https://#g' | \
    sudo tee /etc/apt/sources.list.d/nvidia-container-toolkit.list

# Update the packages list from the repository
apt-get update

# Install the NVIDIA Container Toolkit packages
apt-get install nvidia-container-toolkit
配置:
bash
# The `nvidia-ctk` command modifies the `/etc/docker/daemon.json` file on the host. The file is updated so that Docker can use the NVIDIA Container Runtime.
nvidia-ctk runtime configure --runtime=docker --set-as-default

# Restart the Docker daemon
systemctl restart docker
NVIDIA/k8s-device-plugin
NVIDIA/k8s-device-plugin是一个守护进程,它允许你自动:
- 在集群的每个节点上公开gpu的数量
- 跟踪gpu的运行状况
- 在Kubernetes集群中运行启用GPU的容器
使用Helm安装:
bash
helm repo add nvdp https://nvidia.github.io/k8s-device-plugin
helm repo update

helm upgrade -i nvdp nvdp/nvidia-device-plugin \
  --namespace nvidia-device-plugin \
  --create-namespace \
  --set gfd.enabled=true \
  --version 0.15.0